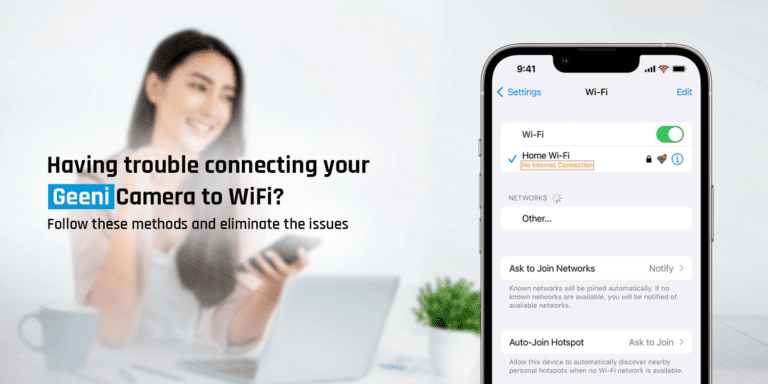
The Geeni camera is among the best security cameras. It has several remarkable features that allow the best protection for your home. You just connect it to a stable WiFi network to ensure proper functionality. Without a stable WiFi connection, the camera will not work. Therefore, if the Geeni camera won’t connect to WiFi, you will have to troubleshoot the camera.
If you are facing the same issue, you don’t have to worry. Today we will explain why the Geeni camera not connecting to WiFi. Afterward, we will discuss its troubleshooting methods. Keep reading ahead to find out thoroughly.
Reasons for the Geeni Camera Won’t Connect to WiFi
There could be several reasons for the Geeni WiFi camera won’t connect to the internet. Some are as follows:
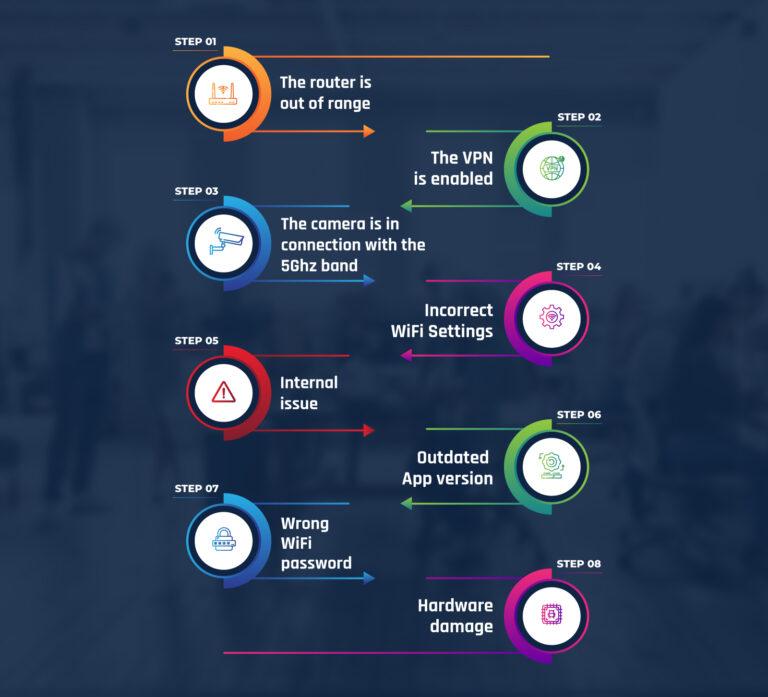
- The router is out of range
- The VPN is enabled
- The camera is in connection with the 5Ghz band
- Incorrect WiFi Settings
- Internal issue
- Outdated app version
- Wrong WiFi password
- Hardware damage
These are some reasons for the Geeni camera not connecting to WiFi.
Troubleshooting the Geeni Camera Not Connecting to WiFi Issue
Now that you know the issue with your Geeni camera, it’s time to troubleshoot it. You can fix these issues effortlessly. Below are some troubleshooting methods you can use to resolve the problem:
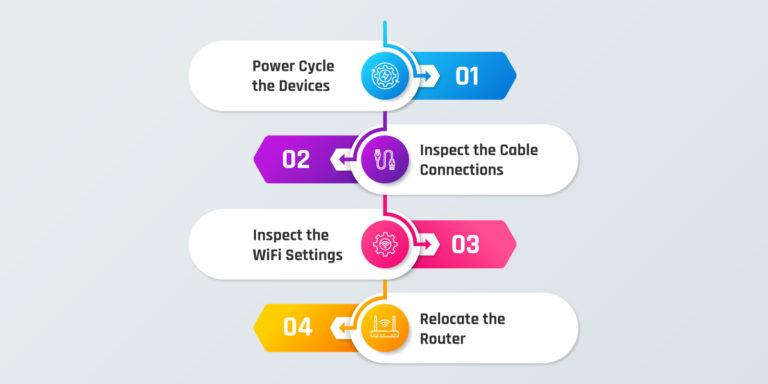
- Power Cycle the Devices: You can try power cycling the router, phone, and camera. Most of the time, rebooting the devices eliminates any minor software glitches and bugs. To power cycle the router, you just need to power it off, unplug it, and then leave it like that for some time. After that, you can power cycle the camera. To do that, you need to power it off, unplug it, and after a few seconds, you can power it on. You can also restart the phone to troubleshoot the issue. This should fix any problems with the camera, router, and mobile phone.
- Inspect the Cable Connections: You must check all the cable connections and ensure there’s no loose connection. Ensure to plug the router and the camera into the working power outlets. If they are not, change their outlets and ensure they are receiving a stable amount of power. You also need to ensure to connect your device to the WiFi network.
- Inspect the WiFi Settings: You need to check the router’s settings, the ‘Wireless Security’ settings should be set to the default, or you can set it to WPS-PSK. Now, you can change the ‘Encryption’ to TKIP or AES. After this, you can try again to reconnect the camera to the WiFi. You also need to ensure the MAC filtering is off.
- Relocate the Router: While installing the camera, you must place it in the router’s range. If the router’s too far from the camera, the connection will break, and the camera will stop working. To fix the issue, you can relocate the camera and place it closer to the router. Ensure the camera is inside the router’s range for a seamless connection. This should fix the Geeni camera won’t connect to WiFi issue.
Some More Ways to Fix the Issue:
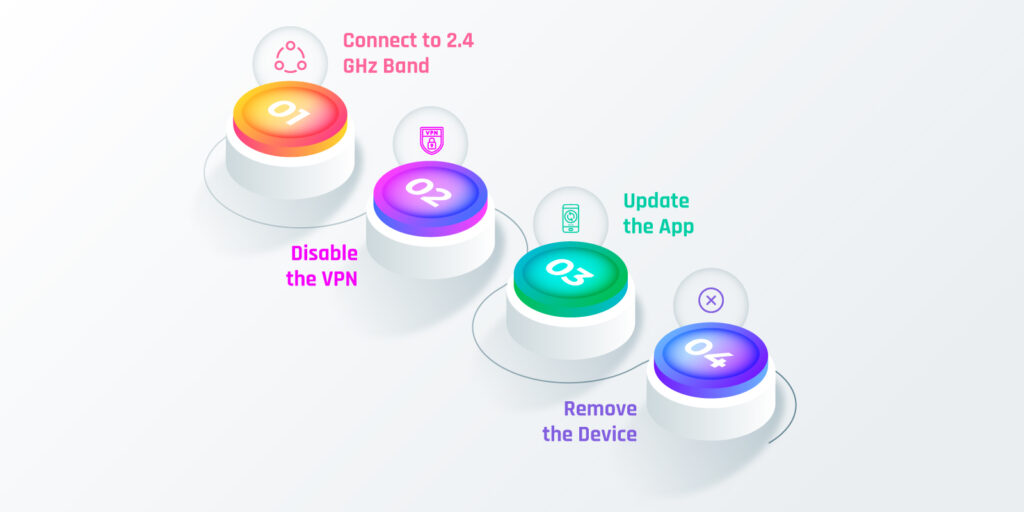
- Connect to 2.4 GHz Band: If you connect the camera to the 5 GHz, the camera will not work. The Geeni camera only works with 2.4 GHz. Therefore, you need to connect your camera to the 2.4 GHz band. You can change the band from the camera’s settings. However, if your router bunches both bands into one, you will have to change it. You can do this from the router’s settings by logging in. After logging in, go to the ‘Wireless Settings’ and disable ‘Smart Connect’ to separate both bands.
- Disable the VPN: The VPN on your phone can also prevent the connection between the router and the camera. You need to disable the VPN and try again with the connection. If your router’s VPN is also enabled, you will have to disable that as well. You can do so from the router’s user interface.
- Update the App: Sometimes, an outdated app version can cause the Geeni doorbell camera won’t connect to WiFi issues. You can update the app from the Play Store or App Store. After updating the app, retry connecting the camera to the WiFi.
- Remove the Device: If the Geeni camera not connecting to WiFi issue persists, you can try removing the device from the app. There could be glitches in the app as well. You set up the camera again after removing the device. Now, the issue should be gone. You can set up the camera using the ‘QR Mode’ or the ‘Easy Mode’.
Additional Troubleshooting Methods
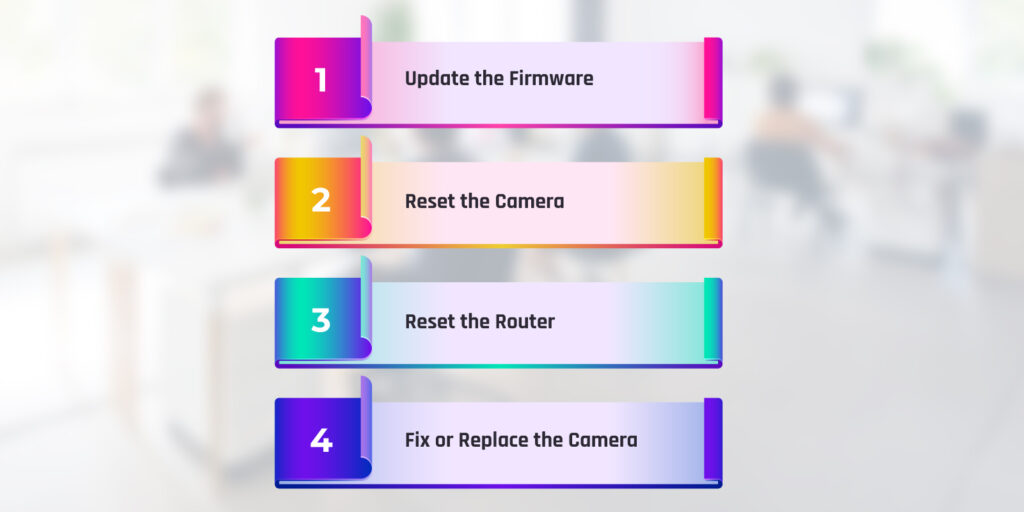
- Update the Firmware: The outdated firmware can also be a factor for the Geeni WiFi camera not connecting. You can update the firmware from the Geeni app. To begin with, go to the app, select the three dots menu button, and go to ‘Advanced’ settings. After that, click on ‘Check for Firmware Update’ if there are any available, and click on ‘Update’ to upgrade the firmware. While you’re at it, update the firmware of the router as well.
- Reset the Camera: When none of these methods are working, you will have to reset the camera. To reset the camera, power on the device, and find the reset button on the camera. Now, using a sharp object, push down the reset button. After 10 seconds, you can release the button. When the camera makes a beep sound, indicates the camera has reset. After the reset, restart the camera to complete the reset. Now, just remember the reset will restore the factory default settings of the camera. You will have to reconfigure the camera after the reset.
- Reset the Router: You can also try resetting the router to fix the Geeni camera not connecting to WiFi issue. To reset the router, locate the reset button and press it. After a few seconds, release the button and the router will restore the factory default settings. Now, you can reconfigure the router and connect it to the camera effectively.
- Fix or Replace the Camera: Check the camera for any physical damage. If there are, check whether they are fixable. If they are not, you will have to replace the camera with a new one.
FAQs
If the Geeni isn’t connecting with the app, it could be due to the camera being offline. With the camera offline, you can not connect it to the app. To troubleshoot this, ensure the camera is inside the router’s range. If it’s not, shift the router closer to the camera and connect it to the camera efficiently.
No, the camera cannot work without WiFi. You will have to connect your camera to the WiFi to make the best out of your camera. To connect the camera to the WiFi, you can use the Geeni app. You just need to create your account, add the device, and proceed further.
The camera blinking blue light indicates the camera has lost internet connection. When this happens, the camera will automatically look for a WiFi connection. If the blue light isn’t changing, you will have to troubleshoot it manually. You can try reconnecting the camera to the WiFi.

