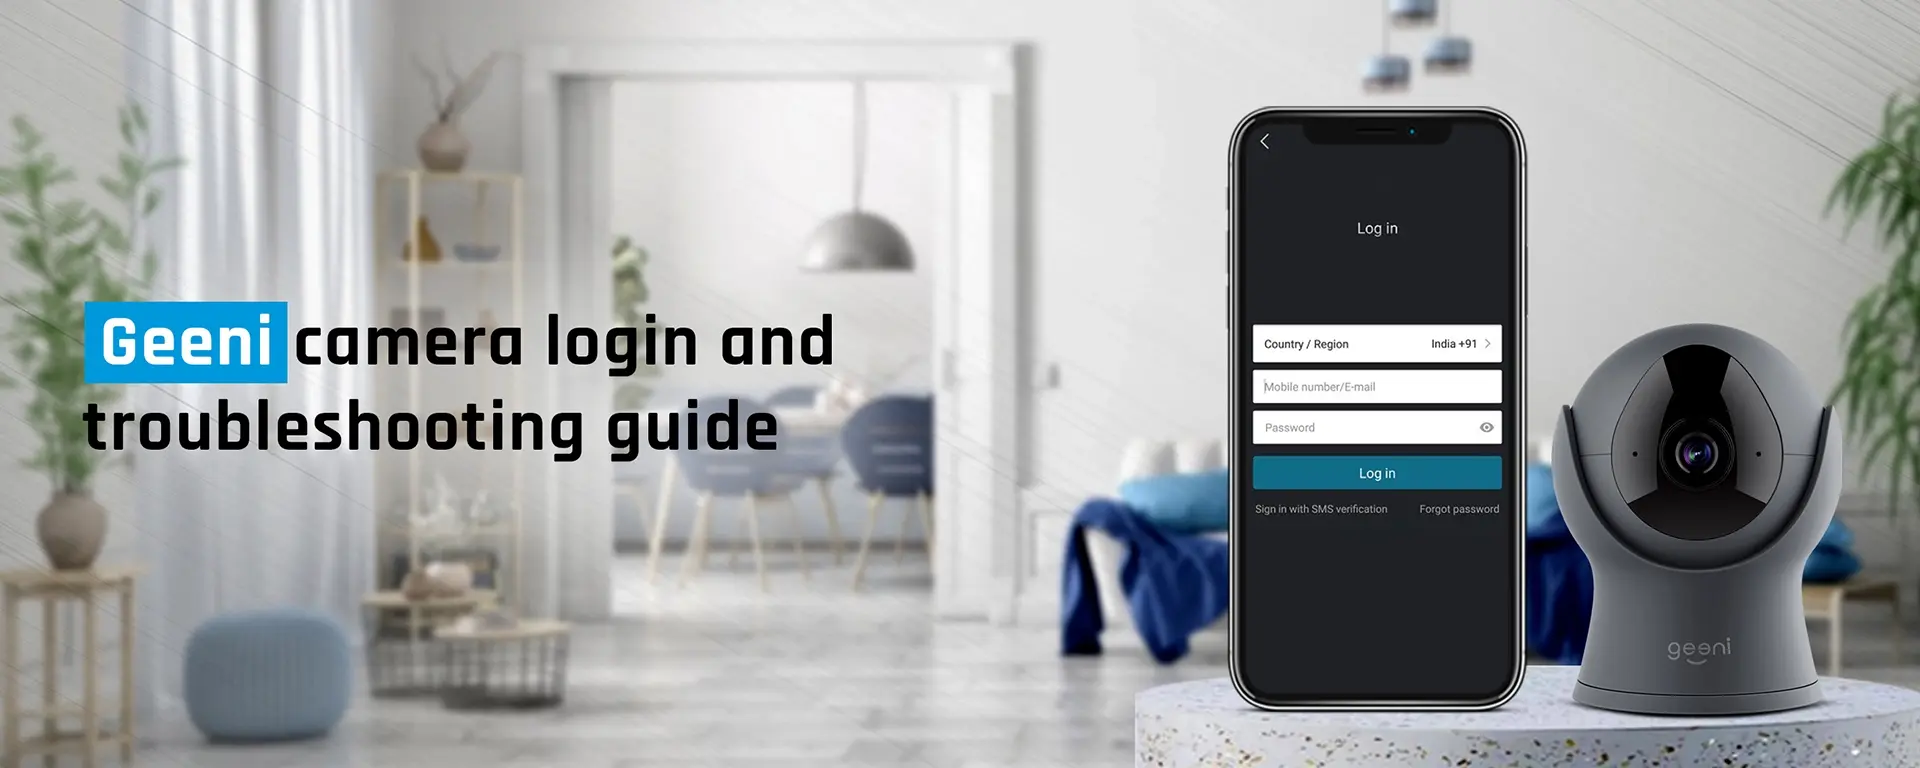
Geeni camera login
The Geeni camera login process allows you to login to your Geeni WiFi camera using your smartphone or tablet. It is important for you to login to your Geeni camera if you want to access your camera’s settings. The Geeni home security camera comes with many features and functions that you can configure only when you access your device.
This page will walk you through the steps to login to your Geeni security camera and learn how to resolve issues if you face them with your device.
Geeni security camera login
For the Geeni security camera login, you need an app that can help you walk through the authorization process and give you access to your camera.
If you have already set up your WiFi camera through the app, you know how to login. For those who don’t know how to go about the Geeni camera login process, kindly follow the steps below:
- Firstly, make sure you add your camera to the Geeni app.
- If you have already added your camera and configured it through the app, go to the next step.
- After that, open the Geeni app on your device.
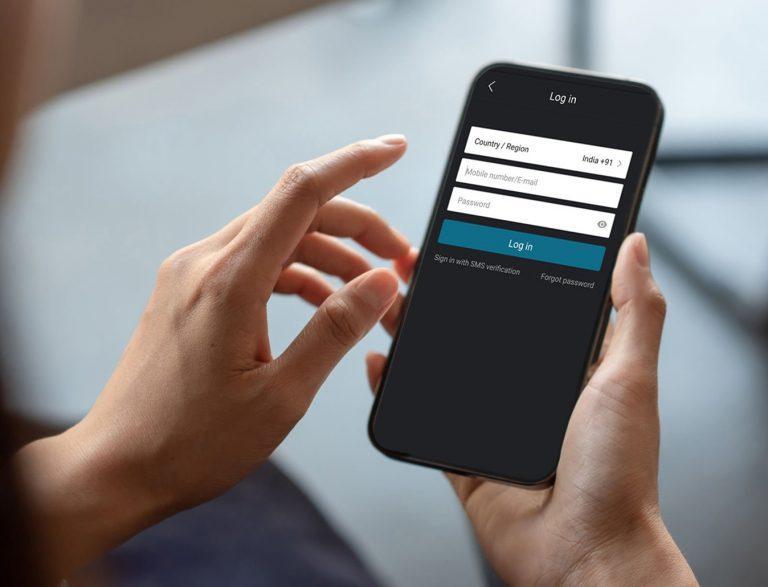
- You will see the Geeni security camera login page.
- Put down the email address and the password of your camera.
- Click Submit. Finally, you will be logged into your home security camera.
Geeni camera IP login
The Geeni camera IP login process can also be performed through the Geeni app. Download and install the Geeni app on your mobile. It could be an Android-based mobile or iOS-based mobile. You can download the Geeni app for free and it is available on both the App Store as well as the Play Store. Add your camera to the app and follow the instructions to login to the device. You will successfully perform the Geeni camera IP login process on your device.
How to connect Geeni camera to WiFi?
To connect Geeni camera to WiFi, you should have an active WiFi network at your home or office. It is important that you know the WiFi network credentials in order to establish a connection between your camera and the network. Thereafter, follow the instructions outlined below;
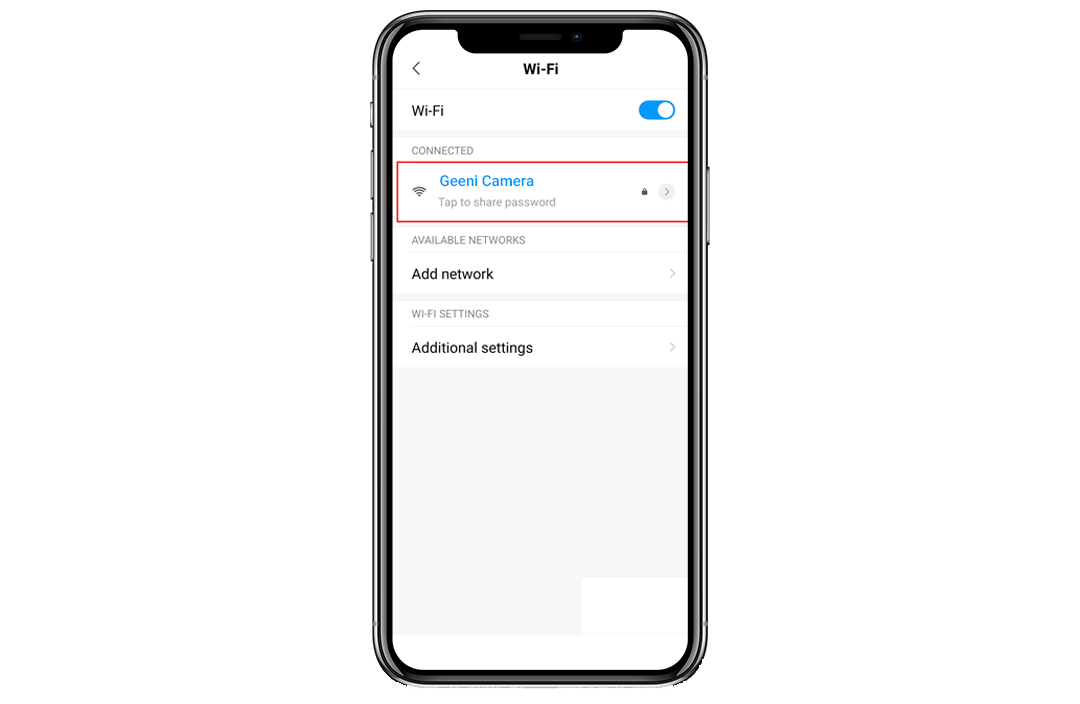
- To connect Geeni camera to WiFi, open the Geeni app.
- Tap the + icon in the Geeni app to add your camera.
- Follow the steps to add your Geeni WiFi camera to the app.
- After that, you will be navigated to the WiFi configuration page.
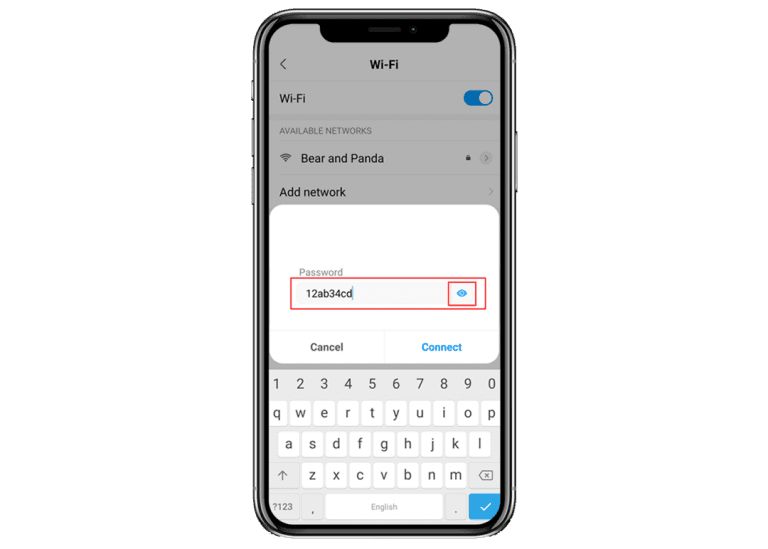
- Select your home WiFi network and enter the WiFi password.
- Tap Connect. You will successfully connect Geeni camera to WiFi network.
Why Geeni camera won't connect to wifi?
If your Geeni camera won’t connect to WiFi, then there must be some problem either with the network or the camera itself. So here are some effective tips to identify and troubleshoot WiFi connectivity issues on your camera.
- Firstly, ensure that your wireless router is powered On.
- Secondly, you need to make sure that the camera is well within your router’s network range.
- If your camera is placed far away from the router, the Geeni camera won’t connect to WiFi.
- Please re-enter the WiFi password correctly.
- Make sure you connect your Geeni WiFi camera to a 2.4GHz WiFi network only.
- Do not connect your device to a 5GHz network as the camera does not support that network frequency.
- At last, reboot your camera and try to reconnect your camera to the network.
- The issue will be resolved successfully.
How to reset Geeni camera?
To reset Geeni camera, you just need to reach the reset button on your device. Unlike any other device that asks you to press and hold the reset button for 20 or 30 seconds, the Geeni camera requires you to press and hold the reset button for 5 seconds only. It’s that easy! Once you reset your Geeni wireless camera, the camera will revert to the factory default settings.
How do I get my Geeni camera back online?
To bring your Geeni camera back online, turn on your camera and wait for it to connect to a WiFi network. Make sure your WiFi network is also powered on. After that, go to the Geeni app and check the status of your camera. If it shows ONLINE, then it’s fine. However, if you see the status as OFFLINE, then you need to reboot your camera once again.
How to view Geeni camera on PC?
To view Geeni camera on PC, you need to have a good Android emulator like Blue Stacks or LDPlayer. After that, you can download the Geeni app on your PC and follow the on-screen instructions to view your camera. However, if you don’t have an Android emulator, you can’t view Geeni camera on PC.
Why is my Geeni camera blinking red?
If you see your Geeni camera blinking red light, it means either the device has lost the internet connection or is having trouble connecting to the internet. Here are some tips and tricks to resolve the red light issue on your device.
- Reboot your Geeni camera through the app or manually.
- After that, make sure to reboot your WiFi router as well.
- You can try reconnecting your camera to the WiFi network.
- If you still see your Geeni camera blinking red light, please check the internet connection.
- Go to your router or modem to see the status of your internet.
- Contact your service provider to know about a possible outage.
- If you can’t fix the red light issue, reset Geeni camera to the factory default settings.
- After that, set up your camera as a new one.
Why does my Geeni camera keep going offline?
Does your Geeni camera keep going offline? Well, it is very common in smart home security cameras. You just have to make sure your camera is connected to a WiFi network at all times.
Just ensure that your router is working perfectly fine and is a little closer to your WiFi camera. You can try rebooting your camera if you still see it offline.
Why is my Geeni camera blinking blue?
A user can see their Geeni camera blinking blue if it loses the internet connection and tries to reconnect automatically. Try to reboot your Geeni camera as well as your wireless router. Just bring your camera a little closer to the router and see whether the camera connects or not.
After that, if you still see your Geeni camera blinking blue light, check for the latest firmware updates on your camera. If the latest updates are available, you must upgrade your camera.
How do I turn off my Geeni camera?
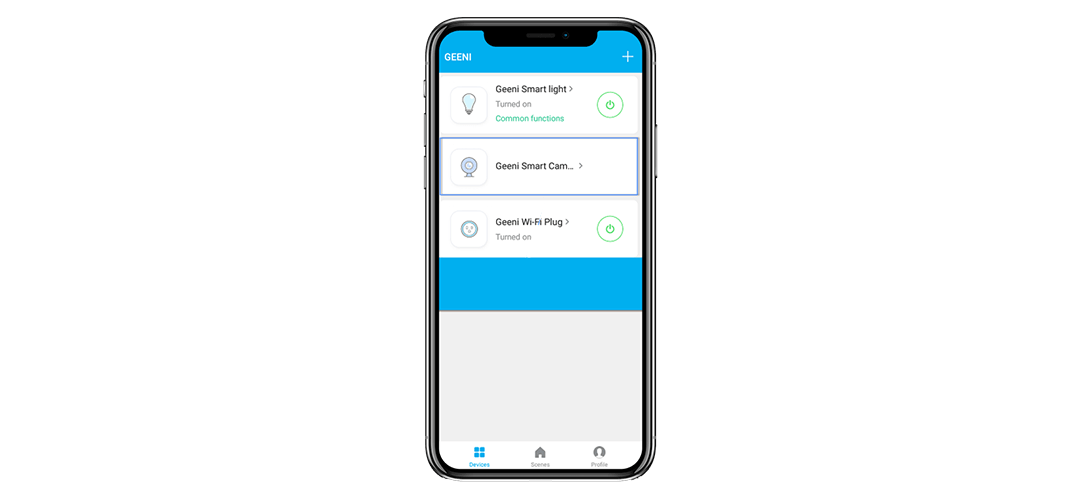
To turn Off Geeni camera, you can simply cut off the power supply to the camera. You can also use the Geeni app to turn off your device remotely. There are more features that you can control through the Geeni app.

Why is my Geeni camera not connecting?
Is your Geeni camera not connecting? Well, there must be some wireless connectivity issue or firmware issue. Follow the steps below to fix the issue;
- Firstly, restart your Geeni camera.
- After that, make sure the wireless router is powered on.
- The Geeni app installed on your smartphone should be running on the latest version.
- Check for the latest Geeni camera firmware updates.
- If an update is available, kindly update your device as soon as possible.
- The issue will be resolved.
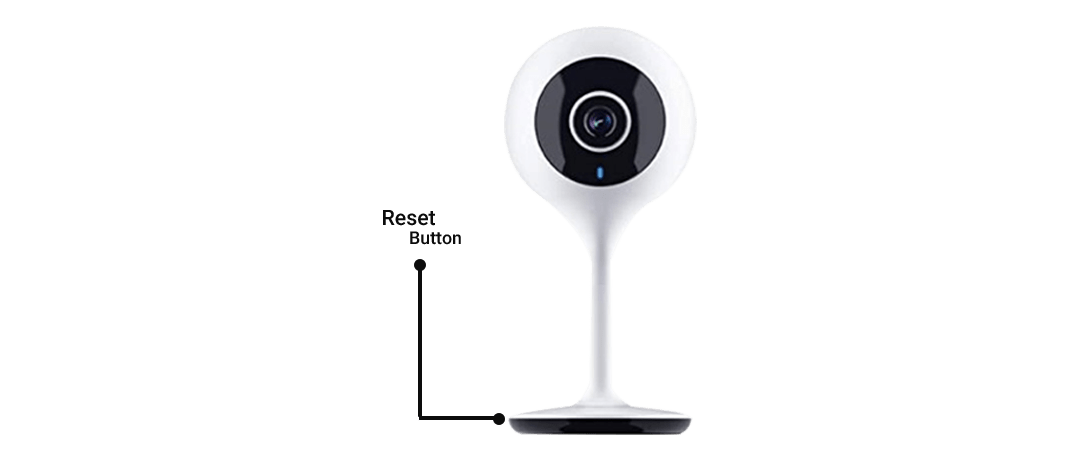
Where is the reset button on Geeni camera?
The reset button on Geeni camera is underneath a compartment of your camera. You need to remove the compartment and then press the reset button.
How to setup Geeni camera without QR code?
To setup Geeni camera without QR code, open the Geeni App on your mobile. After that, click on Devices and then click on WiFi Camera.
Cross-check your camera to see that the indicator light is blinking red. Follow the in-app instructions and connect your Geeni camera to a WiFi network. Finally, the Geeni camera will be set up without QR code.
Geeni Camera FAQs
The Geeni camera will show up a red light if it is unable to connect to the internet. You need to troubleshoot this problem. We have already mentioned the steps to fix this issue in this post.
If you have an Android TV, you can download the Geeni app and add your camera to it. That’s the simple way to connect Geeni camera TV.
To delete any video from your Geeni camera, you need to use the Geeni app on your smartphone or tablet. Open the Geeni app and go to the recordings. After that, choose a recording that you wish to delete from your camera.
Your Geeni camera might not be recording because of the offline status or some other issue with the network. Make sure your camera stays connected to a WiFi network at all times. You can also check for the latest firmware updates on your camera.