The Merkury smart WiFi outdoor camera is a top-tier security camera with impeccable performance. This camera is an easy-to-use and simple way to direct your home or office.
There are several features this camera offers, such as HD video quality, night vision, two-way audio, and motion detection.
To enjoy all these features, you must proceed with the Merkury outdoor camera setup. That’s why it’s very imperative to set up the camera accurately. The camera will only function at its best after you set it up early.
To proceed with the Merkury smart WiFi camera setup, you must have the proper guidance. But don’t have to concern, as we have brought you the ultimate guide.
This post is designed to help users set up their Merkury cameras easily. Not limited to this, you can also find the solutions to the issues you could face during the setup.
Merkury Smart WiFi Outdoor Camera Setup & Installation
Before you proceed with the Merkury camera setup, you must install the cameras correctly. The installation process for the camera is very easy compared to other cameras.
The steps for the setup and installation are written below :

Install the App
To begin with, from Google Play Store or App Store, you can download the Geeni app on your smartphone. From the app, log into your account, if you have one. Otherwise, you can register in the app and create your account. You will require your phone number and email to form an account.
Plug In the Camera
Now you must install the camera correctly. You can begin by providing a functional power source to the camera. The camera’s LED light should be blinking red. If your camera requires an SD card, insert it.
Now, stick the mounting plate and fix the camera on it. Ensure to pick the most appropriate location for the camera. Without turning on the camera, you can’t proceed with the Merkury camera setup
Add the Camera
Hereon, go back to the app and add the camera to the account. You can add the camera using two ways. You can either add it through Easy Mode or the QR code mode.
In the former method, you need to select the camera and the camera’s model. Whereas, in the latter method, add the camera with the help of the QR code on the app.
Connect to the WiFi
When the camera is added to the app successfully, you can connect it to the WiFi. Afterward, the app will scan for all the available networks around the camera. From the list of networks, click your WiFi network and enter the correct password.
The camera will work only with the 2.4GHz band only. The Merkury smart WiFi camera setup will fail without this.
Check the View
Configure the settings of the camera correctly, when a connection is established. Now from the app, you can test the view of the camera. If the view isn’t proper, you can relocate the camera accordingly.
These are the Merkury smart WiFi camera setup steps you must proceed with. Now the camera should be working correctly and you can start using the camera.
Resolve the Merkury Wifi Outdoor Camera Setup Issues
You could have trouble setting up the camera due to several factors. To set up the camera properly, you must fix these issues.
You can try the following methods to resolve the glitches:
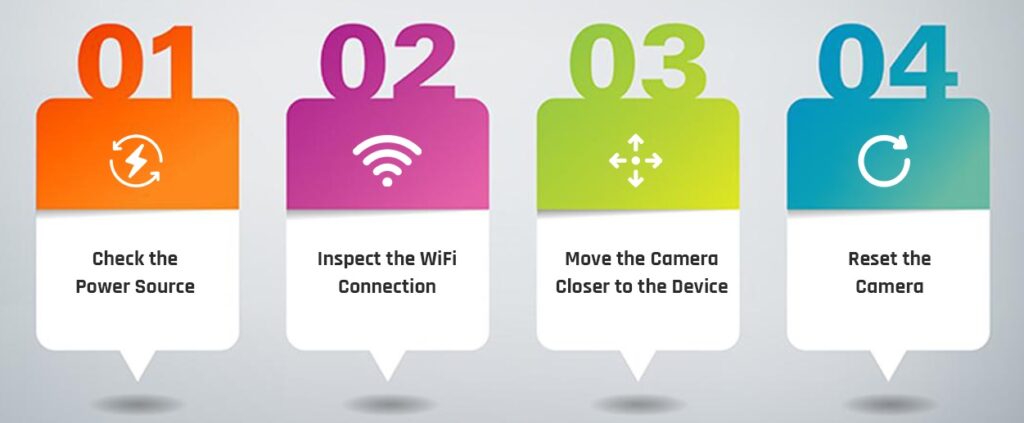
Check the Power Source
If the camera’s not working after the setup, it could be due to the lack of power. You must provide the camera with a functional power supply to confirm correct functioning.
Sometimes, due to power fluctuations, the outlet melts and stops working. In such situations, you must plug the camera into another power socket. Otherwise, the camera will not work. You can try again with the Merkury smart WiFi camera setup.
Inspect the WiFi Connection
Along with power, the camera should have a proper WiFi connection as well. If the camera is unable to connect to the WiFi, it will not function at all.
Your network device could be defective as well, due to which the camera is unable to form a connection. Troubleshoot the issues with the networking or connect the camera to another WiFi.
Move the Camera Closer to the Device
Another major reason for the camera having difficulty connecting to the WiFi is the distance. When the camera is too far from the router, it will have trouble detecting the network.
So, guarantee to keep the camera closer to the router for a seamless connection. If not possible, you can move the router near the camera. Afterward, proceed with the Merkury camera setup again.
Reset the Camera
Reset the camera if the issue persists. The reset will eliminate all internal glitches and bugs with the camera. To reset the camera you require the reset button on the camera.
Now you can begin the reset by pressing the reset button on the camera. You can release the button after about 3-4 seconds. This should restore the default settings of the camera.
That’s it! The Merkury outdoor camera setup issues should be gone as well. You now know complete the procedure for the setup as well. We hope the topics covered in this blog were clear. If not, don’t hesitate to reach out to our team right now.
The Merkury camera will have trouble connecting to the WiFi if it’s too far from the router. Therefore, you must keep the camera close to the camera for a proper connection. If the router is too far, the Merkury camera will have difficulty detecting a WiFi connection.